How to Convert a Scanned Document to PDF Using Your Phone
2026-05-24 · 6 min read · onnova
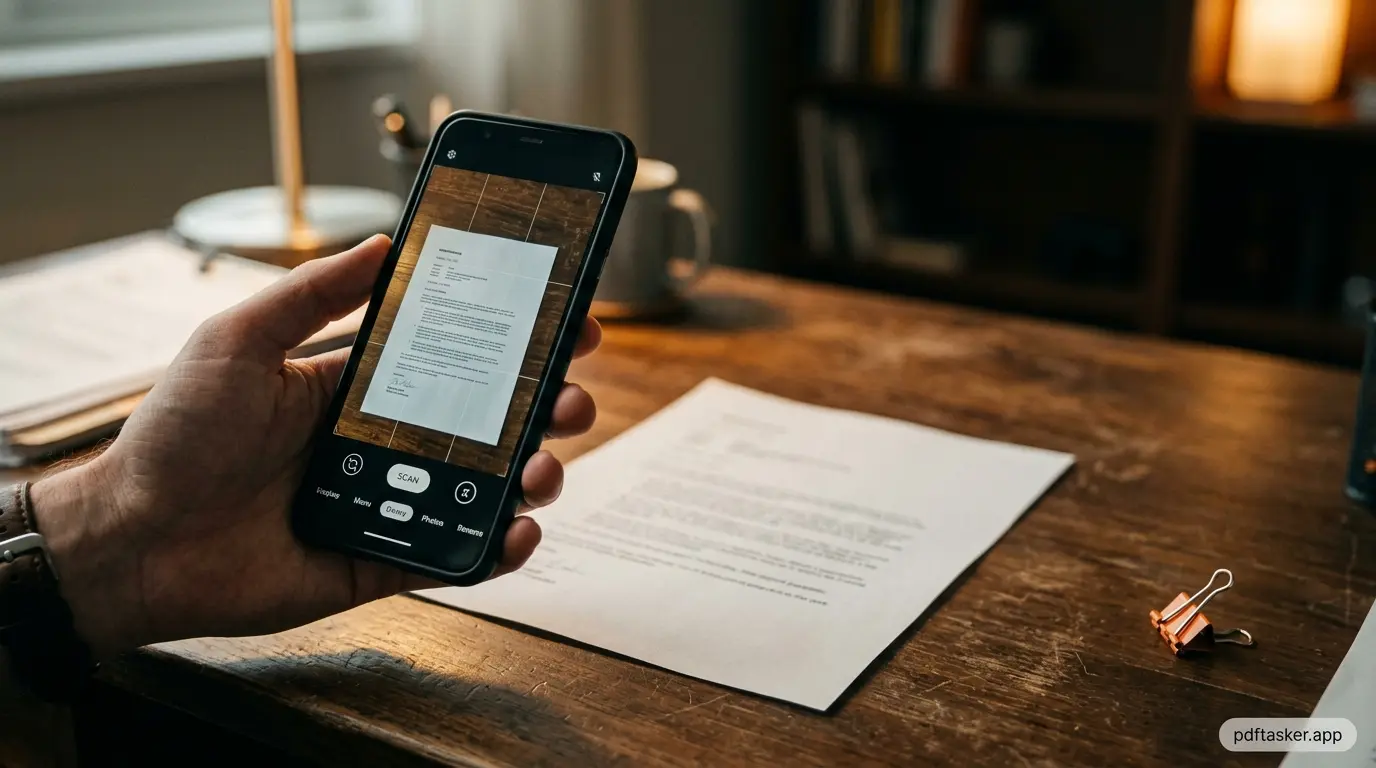
I got rid of my dedicated scanner two years ago. I did not miss it. My phone camera takes better photos of documents than any flatbed scanner I owned — sharper, faster, and I always have it with me.
The only friction left was format. A photo is a JPEG. Most official submissions, email attachments, and form uploads want a PDF. Bridging that gap takes about ten seconds.
Your phone camera is already good enough
Modern phone cameras shoot at 12 to 50 megapixels. A standard document scanner runs at 300 DPI for print-quality output. At typical reading distance on a screen, 96 DPI is sufficient. Your phone at arm's length over an A4 sheet produces well above 300 DPI equivalent.
The practical test: photograph a typed document, zoom in to 200%, and read the text. If it is sharp, the resolution is fine for any PDF use case — forms, invoices, contracts, certificates.
The one thing that matters is lighting. Even exposure, no hard shadows across the text, and the phone held level above the page. Everything else takes care of itself.
The three mistakes that ruin a phone scan
After converting a few hundred phone scans, the failures fall into exactly three categories. All three are fixable before you press the shutter, and none are fixable afterward without re-shooting.
Shadows across the text. Your own hand or phone casting a shadow on the page is the most common problem. The fix is positioning, not editing: stand so the light source is in front of you, not behind, and hold the phone slightly off to the side of the light path. Daylight from a window beats any ceiling lamp.
Keystone distortion. Shooting at an angle turns a rectangular page into a trapezoid, and text near the far edge gets visibly smaller. The converter preserves the image exactly as shot — it will not deskew or straighten anything. Hold the phone parallel to the page. If your phone has a grid overlay in the camera app, turn it on and line up the page edges.
Glare on glossy paper. Receipts, ID cards, and laminated documents bounce light directly back into the lens, leaving a white hotspot over the text. Tilt the document a few degrees — not the phone — until the hotspot slides off the area you need readable.
The thirty seconds spent checking these three things is cheaper than discovering an unreadable page after you've already submitted the PDF.
The gap between a photo and a PDF
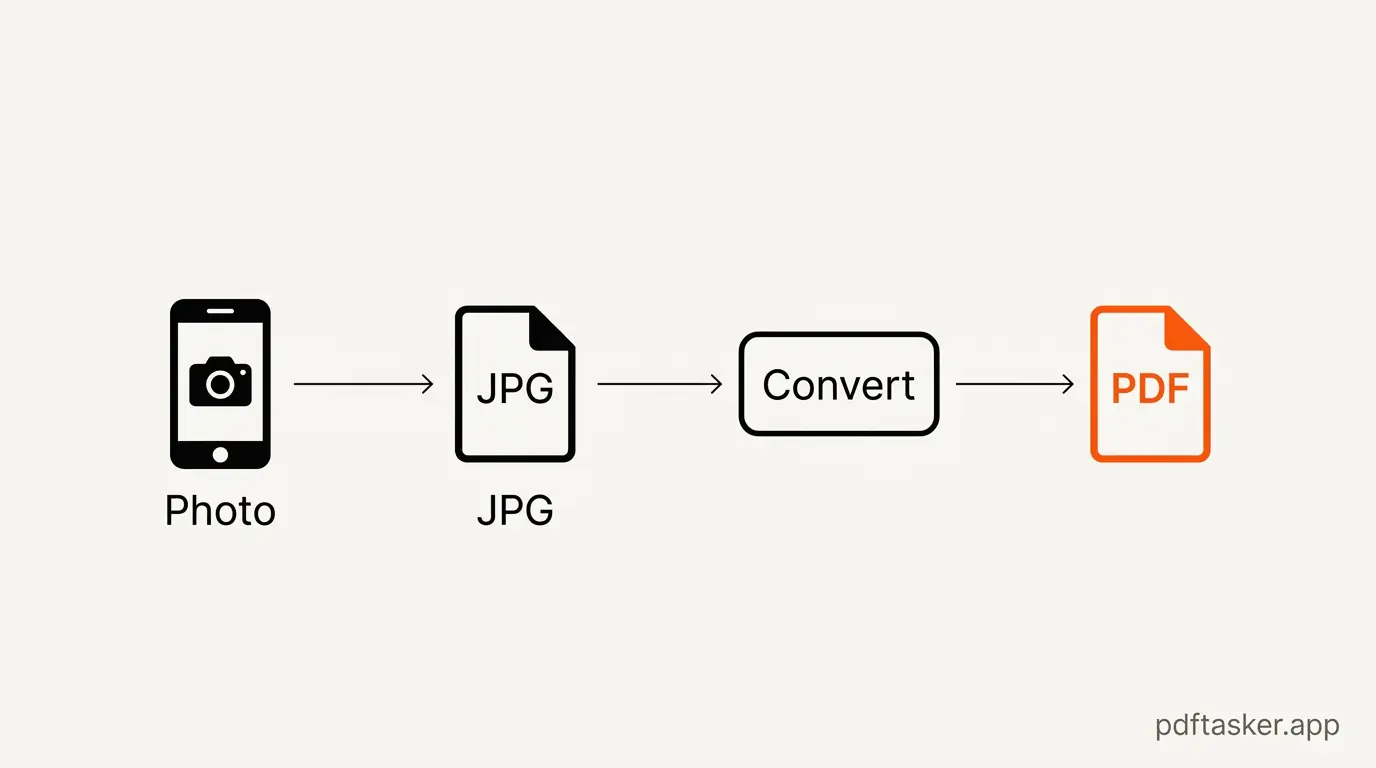
A phone gives you a JPG or PNG file. Most submission systems, email clients, and document platforms expect a PDF. The file types are not interchangeable — a JPG is a single compressed image, a PDF is a container that can hold pages, layers, metadata, and compression settings independently.
Converting a JPG to PDF is not the same as renaming the file. The conversion wraps the image in a proper PDF structure, sets the page dimensions to match the image, and produces a file that opens correctly in any PDF viewer.
How to convert your photo to PDF
Three steps.
1. Open the converter. Go to PDFTasker /jpg-to-pdf. No account needed.
2. Upload your photo. Drag the JPG or PNG file, or tap to browse your camera roll. The file processes entirely in your browser. Nothing is sent to any server. Your document stays on your device.
3. Download the PDF. The output appears in seconds. Click download. That is it.
The result is a properly formatted single-page PDF at the same resolution as your original photo. Ready to attach, submit, or print.
Combining multiple pages into one PDF
One scanned page converts in one step. For a multi-page document — a three-page contract, a five-page report — you need all photos merged into a single PDF.
The process is the same, but you upload multiple files at once. PDFTasker /jpg-to-pdf accepts multiple JPG or PNG files in a single drop. The order in the file picker becomes the page order in the output PDF.
A few things that help when scanning multiple pages:
- Number the pages in your mind before you start — it is easier to re-shoot one page than to reorder after.
- Keep the phone at the same height and angle for every shot. Consistent framing makes the final document look intentional, not improvised.
- A white or light-colored desk surface behind the document gives the best contrast.
The output is one PDF, all pages in order, ready to send.
Why not just use a scanner app?
Dedicated scanner apps exist, and some are good. But it is worth knowing what you trade for the convenience. Most popular scanner apps process your document through their cloud — that is how features like server-side OCR and cross-device sync work. Your ID, your contract, or your medical form makes a round trip to someone else's infrastructure, governed by a privacy policy you have probably never read. Many also push subscriptions after a trial, or stamp a watermark on the output until you pay.
The browser route has none of that. The photo is read from your camera roll into the page's memory, wrapped into a PDF structure locally, and saved back to your device. There is no account to create, no app to install, and no copy of your document anywhere but your own storage. If you want to see how this compares to upload-based PDF services more broadly, the comparison page lays out the differences point by point.
The honest trade-off: a scanner app with edge detection will auto-crop the page for you, while the browser approach uses the photo exactly as shot. If you frame the shot reasonably well, that difference disappears.
What file size to expect
A 12-megapixel phone photo lands between 2 and 5 MB as a JPG, and the PDF wrapper adds almost nothing on top. That means a five-page scanned document can easily reach 15–20 MB — fine for storage, too heavy for portals that cap uploads at 5 or 10 MB.
If the output is too large for an email attachment or a submission form, the same browser-based approach works for compression — and nothing leaves your device there either. Compress the scanned PDF after building it, check the smallest text is still readable, and send the smaller copy.
PDFTasker
Image to PDF