Student के लिए PDF Tools: Assignment Merge करें और Resume Compress करें
2026-05-25 · 6 min read · onnova
PDF merge और PDF compression — ये दो ऐसे document tasks हैं जो हर student को पूरे school year में बार-बार करने पड़ते हैं।
Merge की ज़रूरत tab पड़ती है जब assignment submit करनी हो: एक file में report, दूसरे में data table, और आखिरी moment पर cover sheet — और portal सिर्फ एक file accept करता है। Compression तब आती है जब resume या application form 5 MB की limit set कर दे और आपकी file उससे बड़ी हो।
इस guide में आप जानेंगे कि इन दोनों tasks को browser में कैसे करते हैं, और क्यों अपनी personal documents किसी अनजान server पर भेजने की ज़रूरत नहीं है।
Student और PDF: दो काम, दो situations
Students के लिए PDF के साथ ज़्यादातर दो situations आती हैं: assignment submit करना और job या internship के लिए apply करना।
Assignment submission में अक्सर अलग-अलग programs से बनी files को — word processor document, spreadsheet, scanned printout — एक single PDF में combine करना होता है, तब upload करना होता है। Portal एक file चाहता है, तीन नहीं।
Job और internship applications में एक अलग problem होती है: upload forms अक्सर file size limits set करते हैं। Design template से बना resume, या जिसमें embedded images हों, वो easily 5 MB से ज़्यादा हो सकता है। Form reject कर देता है, ठीक से बताता भी नहीं।
दोनों situations में एक बात common है: documents में personal information होती है। Assignment files में student ID या institutional email हो सकती है। Resume में address, contact details और work history होती है। इन files को किसी ऐसी website पर upload करना जिसकी privacy policy आपने नहीं पढ़ी — यह एक unnecessary risk है।
Browser-based tools इस problem को solve करते हैं। Merge या compress का operation browser के अंदर client-side code से होता है। File server पर नहीं जाती।
Assignment PDF Merge कैसे करें
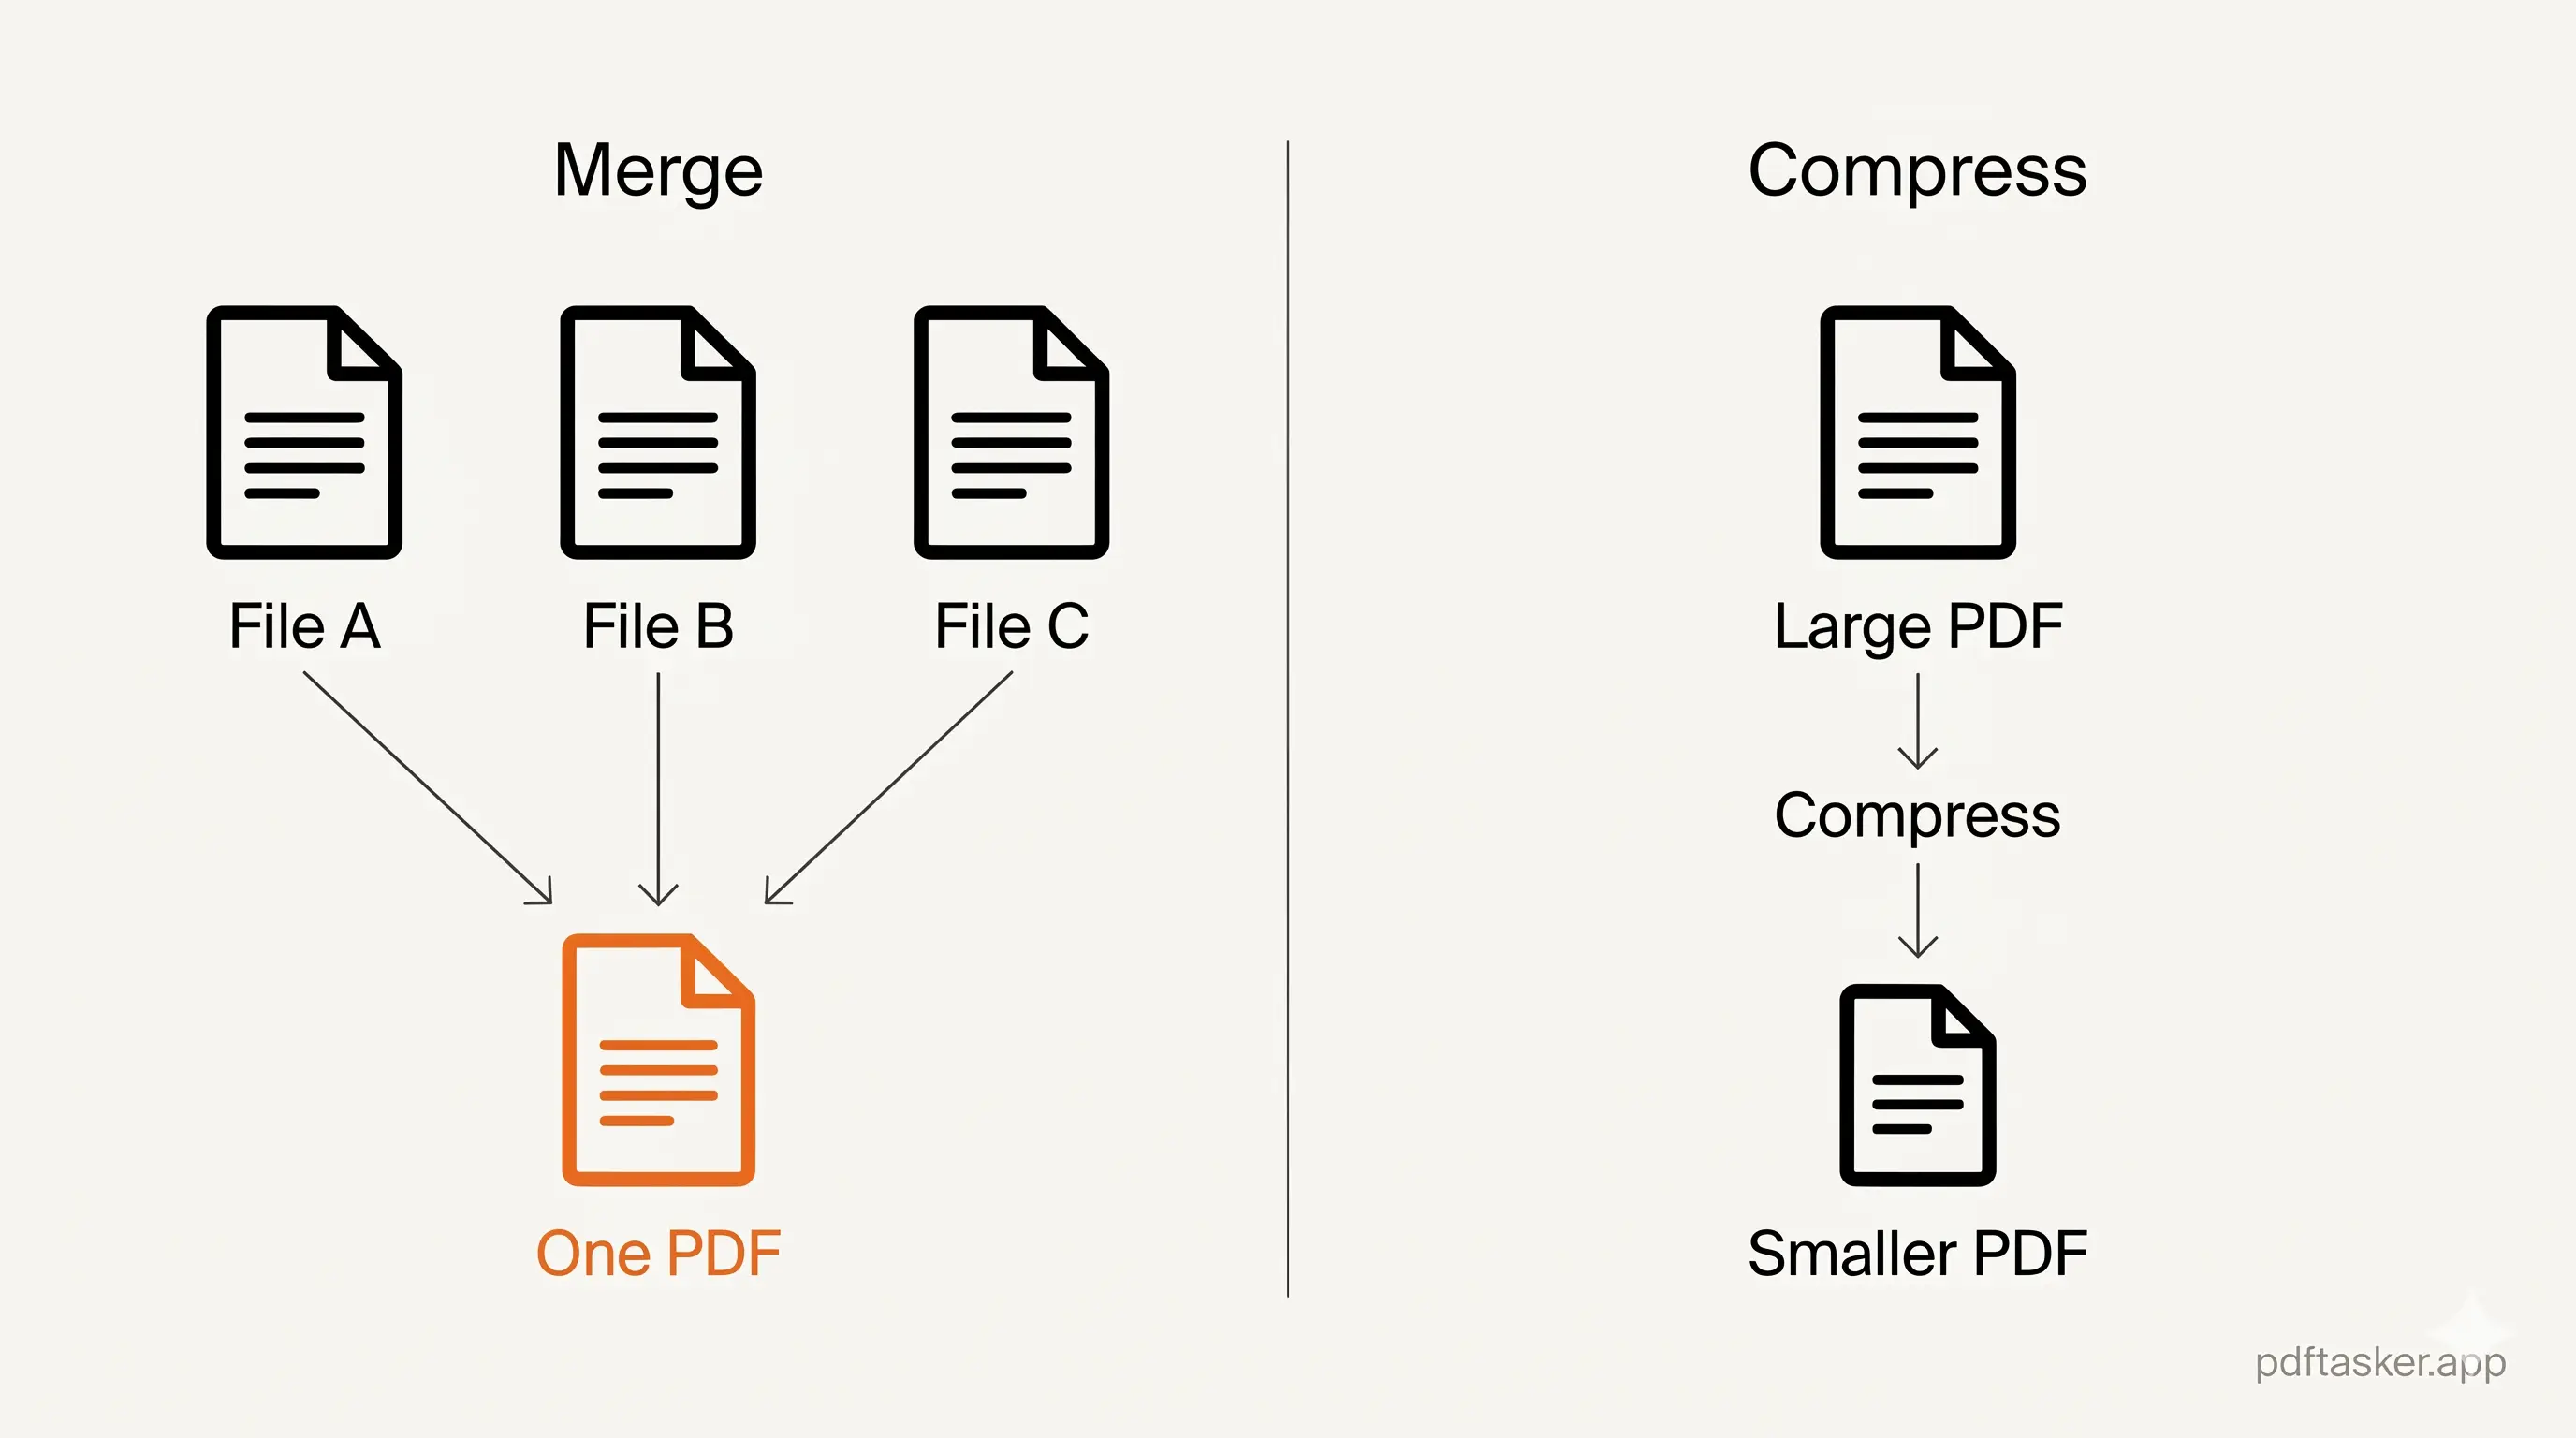
PDF merging का मतलब है दो या उससे ज़्यादा PDF files को मिलाकर एक document बनाना। Result एक single file होती है जिसमें सभी pages आपके set किए order में होते हैं।
यह रहा typical workflow:
1. सभी files तैयार करें
Tool खोलने से पहले, check करें कि assignment के हर हिस्से का PDF format तैयार है। Word processor documents को File menu से PDF में export किया जा सकता है। Photos या scanned images के लिए ज़्यादातर operating systems में print-to-PDF का option होता है।
पहले सब तैयार रखने से बाद में काम रोककर वापस नहीं आना पड़ता।
2. Merge tool खोलें और files add करें
Browser में PDFTasker का merge tool खोलें। PDF files को upload area में drag करें या file selector से add करें।
Files सीधे browser में load होती हैं। इस step में कोई भी file server को नहीं भेजी जाती।
3. Page order set करें
Files load होने के बाद हर document का preview दिखेगा। ज़रूरत हो तो drag करके order change करें — जैसे अगर cover sheet सबसे पहले चाहिए, तो उसे main document से ऊपर रखें।
यह step important है। Submission portal pages को उसी order में पढ़ता है जिसमें वो हैं, और examiner भी वही करते हैं।
4. Combined PDF download करें
Merge करें। Tool सभी pages को एक PDF में combine करता है और download का option देता है।
Submit करने से पहले downloaded file ज़रूर खोलें। Check करें कि page order सही है, सारा content है, और कोई blank page नहीं है।
Resume PDF Compress कैसे करें जब Portal Reject करे
PDF compression का मतलब है PDF file का size कम करना। इसमें redundant data हटाया जाता है, embedded fonts optimize होते हैं, और जहाँ possible हो वहाँ image resolution कम की जाती है। Result में file छोटी होती है और content readable रहता है।
1. Size limit पहले note करें
ज़्यादातर upload forms पर limit कहीं दिखाई देती है: "Maximum file size: 5 MB" या "Files must not exceed 10 MB." Compress करने से पहले यह देखें ताकि आप जानें कि target क्या है।
2. Compress tool खोलें और file add करें
Browser में PDFTasker का compress tool खोलें और वो PDF add करें जो reject हुई थी।
3. Compression run करें
Compression start करें। Tool file को locally process करता है और एक smaller version बनाता है। File कितनी छोटी होगी यह उसके content पर depend करता है — images वाले या design-heavy resume ज़्यादा compress होते हैं, plain text document कम। Results हर बार एक जैसे नहीं होते।
4. Result check करें और download करें
Download से पहले compressed PDF का preview देखें। Check करें कि text अभी भी readable है और कोई important content cut नहीं हुआ। फिर download करें और upload दोबारा try करें।
अगर compress करने के बाद भी file बड़ी है, तो original में शायद high-resolution images हैं। उस case में, PDF export करने से पहले source application में image resolution कम करने का option देखें।
4 Habits जो Students की PDF Life आसान बनाती हैं
दो core tasks के अलावा, कुछ आदतें PDF work को noticeably smooth बनाती हैं।
- जल्दी PDF export करें। Submission deadline तक wait मत करें। Fonts, layouts, और embedded elements कभी-कभी source application में जैसे दिखते हैं, PDF export में वैसे नहीं होते। Check करने का time रखें।
- Original files रखें। Merge करके submit करने के बाद भी source documents save रखें। Resubmission की ज़रूरत पड़े तो एक हिस्सा ठीक करके फिर से combine किया जा सकता है।
- हर submission से पहले final PDF खोलें। File manager में सही दिखने वाली PDF में page order गलत, fonts टूटे, या content missing हो सकता है। 30 seconds लगते हैं — और बाद में resubmission request से बचाते हैं।
- Account creation न माँगने वाले tools चुनें। Deadline से पहले तीन files merge करने के लिए account बनाना और privacy policy accept करना unnecessary है। Login-free tool से personal documents उस service में नहीं जातीं जो शायद एक ही बार use होगी।
Student life में PDF work mostly repetitive और practical है। Portal एक file माँगे तो assignment files merge करें। Application form में size limit हो तो resume compress करें। Documents में personal information हो तो browser में process करें, किसी अनजान service पर upload मत करें।
PDFTasker
मिलाएँ