Compress a PDF for upload without wrecking the quality
2026-06-15 · 3 min read · onnova
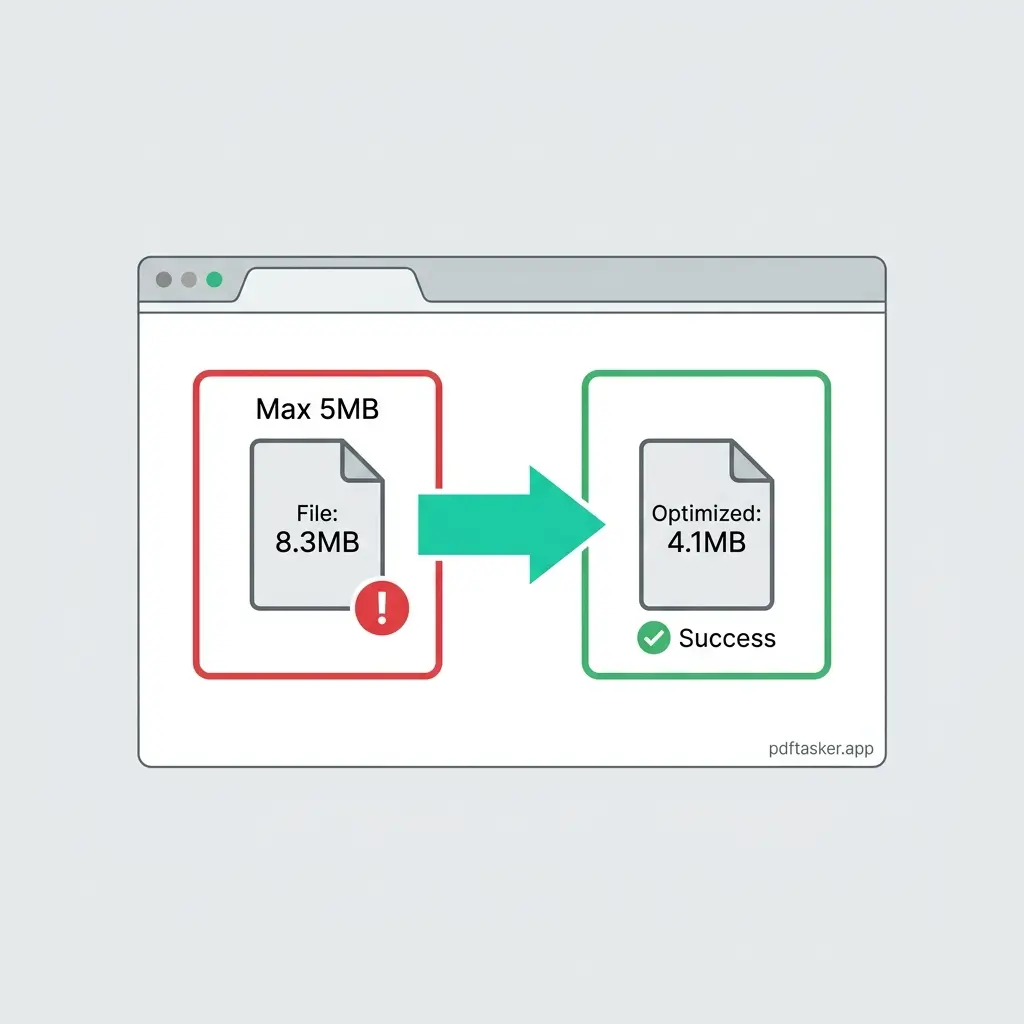
I have been helping candidates optimize digital resumes and portfolios for years, and I still feel a brief moment of anxiety when an application system rejects a file simply because it is slightly over the size limit.
"Why is the limit exactly 5MB?" or "Will my portfolio look blurry if I shrink it?" We have all had these frustrating thoughts.
Let's look at how PDF compression actually works, how to choose the right mode, and how to reduce your file size safely in your browser without sending your document to an external server.
Understanding the size barrier
Many employment portals and government systems enforce strict file size limits, often between 2MB and 10MB.
When you export a layout from tools like Figma or Adobe InDesign, the default settings often bundle high-resolution images, full font sets, and unseen metadata. The result is a heavy file that triggers an upload failure.
But compressing it does not have to mean ruining it. We need to look at what is making the file heavy first.
How PDF compression works: Standard vs. Lossless
To reduce file size honestly without hidden surprises, it helps to understand what happens to your data. There are two primary approaches:
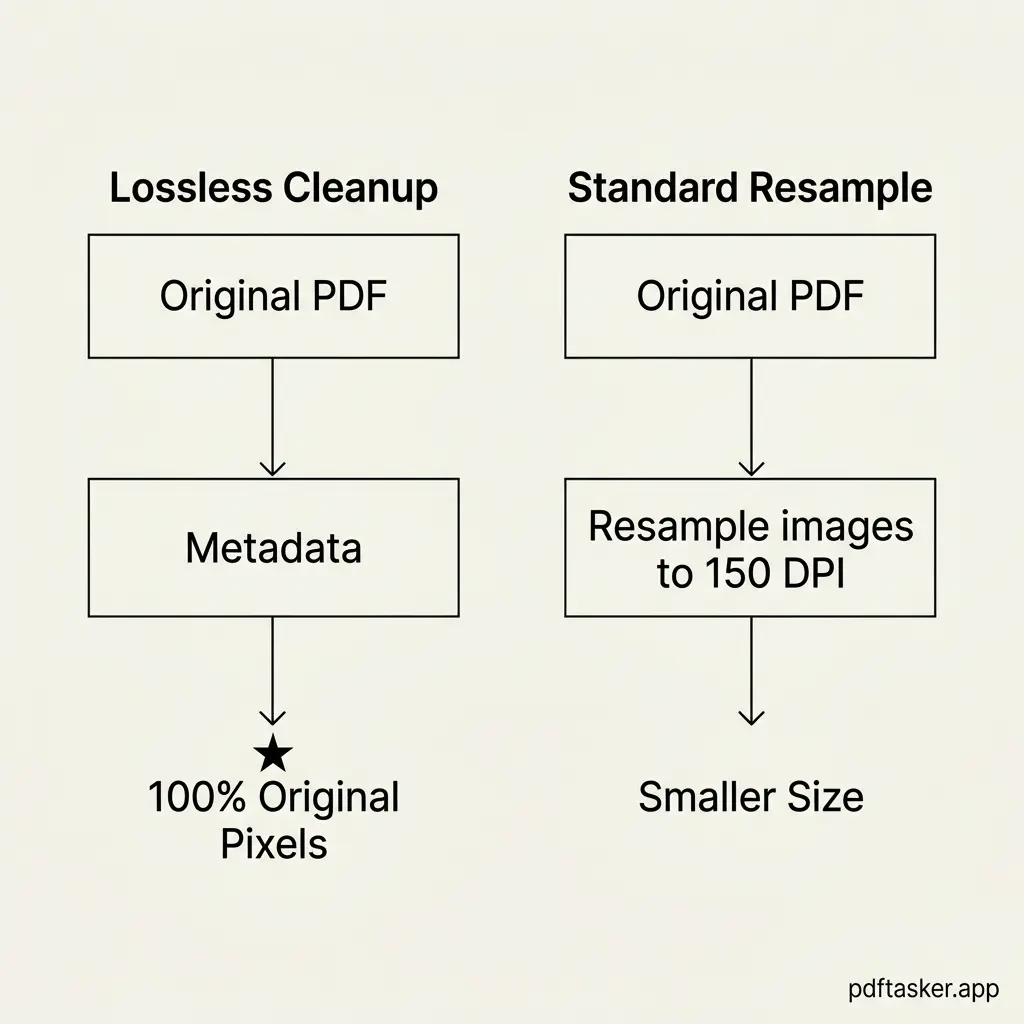
- Lossless optimization (structure cleanup):
- What it does: Strips metadata, removes duplicate object streams, and flattens unused font subsets.
- The result: A cleaner file structure with zero change to image pixels.
- Ideal for: Text-heavy resumes, legal agreements, and forms.
- Lossy compression (image resampling):
- What it does: Lowers the resolution of embedded images (e.g., from 300 DPI to 150 DPI) and applies JPEG compression.
- The result: Major file size reduction, but high-zoom image details will lose some sharpness.
- Ideal for: Graphic-heavy portfolios, presentation slides, and scanned documents.
A honest compression tool should let you choose between these modes so you do not accidentally compromise readability.
Shrink your PDF locally: A step-by-step guide
You do not need to install complex software or upload your private resume to a cloud server to compress it. Here is the step-by-step method to do it right inside your browser:
- Open the tool: Go to the local Compress PDF tool.
- Load your file: Select the resume or document from your local storage.
- Choose compression strength:
- For basic reduction with zero image loss, select the lossless structural cleanup mode.
- For files that are still too large, choose the standard resample mode (typically 150 DPI).
- Execute and download: Click the action button. The browser processes the file instantly using local Web Workers. Save the optimized PDF.
- Verify quality: Open the new file and zoom in on small text to ensure it remains legible before submitting.
Because the processing happens entirely within your browser sandbox, your sensitive personal information, employment history, and contact details never touch an external server.
What to do next
If you have a document that is blocking an upload right now, open the local tool and test it with a standard file. It takes less than ten seconds, and you do not need to share your email or sign up for an account.
You do not need to settle for blurry layouts or worry about who is storing your personal files. Just shrink it locally and submit with confidence.
PDFTasker
Compress