Sign and Password-Protect Your Mortgage Closing Documents PDF
2026-07-16 · 5 min read · onnova
Somewhere between the offer letter and the keys, a PDF shows up in your inbox that's forty-plus pages long and needs your signature by end of day. That's the closing packet: Closing Disclosure, promissory note, maybe a few riders, and it's about to get forwarded between you, your agent, and your lender more times than you'd like. Skip the printer, the scanner, and the trip to a notary's office. Sign the PDF where it already lives, then lock it down before it leaves your hands again.
Why this stack of paperwork deserves a slower approach
A closing packet isn't like a permission slip. It usually has your Social Security number on one page, your bank account and routing numbers a few pages later, and the full street address and price of the property threaded through the rest. It's also going to travel: from the title company to you, from you to your spouse or co-borrower, sometimes from you back to a lender who asked for one more initialed page. Every one of those hops is a chance for the file to land in the wrong inbox or sit unprotected in a "Downloads" folder for months.
None of that means you need to panic about it. It just means two things are worth doing in order: sign the pages that need your signature, then put a password on the file before you send it anywhere else. Each step takes a few minutes and happens right in your browser, with nothing to install and no document handed to a third-party server. Everything runs locally on your device. The PDF never gets uploaded anywhere to be processed, so the closing packet doesn't leave your hands until you decide to send it.
How to sign your closing documents
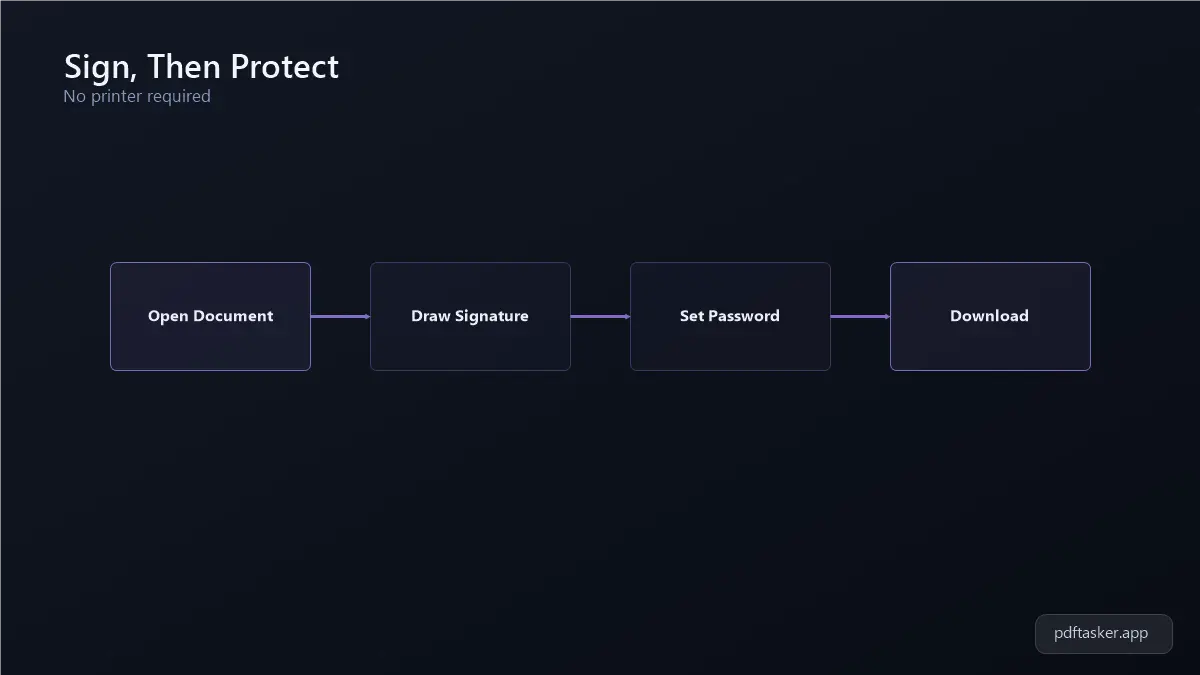
1. Open the closing document PDF in the signature tool
Start with the signature tool and load the Closing Disclosure or promissory note file you were sent. If your closer sent multiple documents, sign them one at a time rather than trying to combine everything first. It's easier to keep track of which page you've already handled, and you avoid accidentally merging a document that wasn't meant to be merged.
2. Add your signature where it's needed
Most closing packets mark signature lines clearly, sometimes with a small tab or highlight from the sender's e-closing platform. Place your signature (typed, drawn, or uploaded from an image) on each required line, and don't forget any initials boxes tucked into the margins of the Closing Disclosure. Lenders check those almost as closely as the main signature. Zoom in before you commit to a placement; a signature that's slightly off a thin line is a common reason documents bounce back for a redo.
3. Review every page before you save
Scroll through the whole document once more, not just the pages with signature lines. Closing paperwork sometimes has line-item numbers (loan amount, interest rate, cash to close) that are easy to skim past when you're focused on finding the next "sign here." A minute of reading now saves a confusing phone call with your lender later.
Lock the signed PDF with a password before you send it
Once your signature is in place, the document is more sensitive than it was before. It's now a legally meaningful copy tied to you. This is the moment to add a password, before it goes back out over email or a shared drive.
1. Open the signed PDF in the protect tool
Take the file you just signed and download and open it in the protect tool. This step adds a password on top of what you already did; the signed content stays exactly as you left it.
2. Set a password you can share separately
Choose a password that's easy to say over the phone but not easy to guess: a short phrase works better than a single word. Then send it to whoever needs it (your agent, your co-borrower, your lender) through a different channel than the one you're using for the file itself. A text message for the password and an email for the PDF is a reasonable split.
3. Download the protected file and rename it clearly
Save the locked version with a filename that makes it obvious this is the final, signed, protected copy. Something like "closing-disclosure-signed-protected.pdf" beats a generic "Document (3).pdf" when you're digging through your files three months from now during a refinance or an audit.
Small habits that keep closing paperwork under control
A mortgage closing produces more paperwork than almost anything else you'll sign in a given year. A few habits make the whole pile easier to live with:
- Keep signed, password-protected copies in one folder instead of scattered across email attachments and downloads.
- Delete or archive password-protected copies you sent to people who no longer need access, once closing is complete.
- Avoid texting the PDF itself over unencrypted channels; send the link or file through email or a shared drive, and the password separately.
- Check that each document is fully signed (no missed initials) before you password-protect it. It's simpler to fix at that stage than after the file is locked.
Closing on a home involves enough moving pieces without worrying about where your signed paperwork ends up. Sign it, lock it, and you've covered what actually matters for a document carrying this much personal detail. Organizing folders and deleting old copies you no longer need is just housekeeping, and it can wait until you have a spare five minutes.
If you want to see how signing and protecting closing documents in the browser compares to upload-based services, our comparison page breaks down where your paperwork actually goes.
PDFTasker
Sign